Welcome to XLKitLearn!
Latest Version: 12.03
XLKitLearn was designed to teach machine learning to non-technical students without the distraction of code - it exposes the power of scikit-learn through Excel, and works on PC and Mac computers. This page contains installation instructions - for more background, demos, and pedagogical notes, click on "more info" below.
 |
 |
 |
 |
|---|---|---|---|
| More info |
Windows Installation |
Mac Installation |
Documentation |
Windows Installation
(Do you have a corporate computer that doesn't allow you to run .exe file? See this page).- Download the XLKitLearn installer.
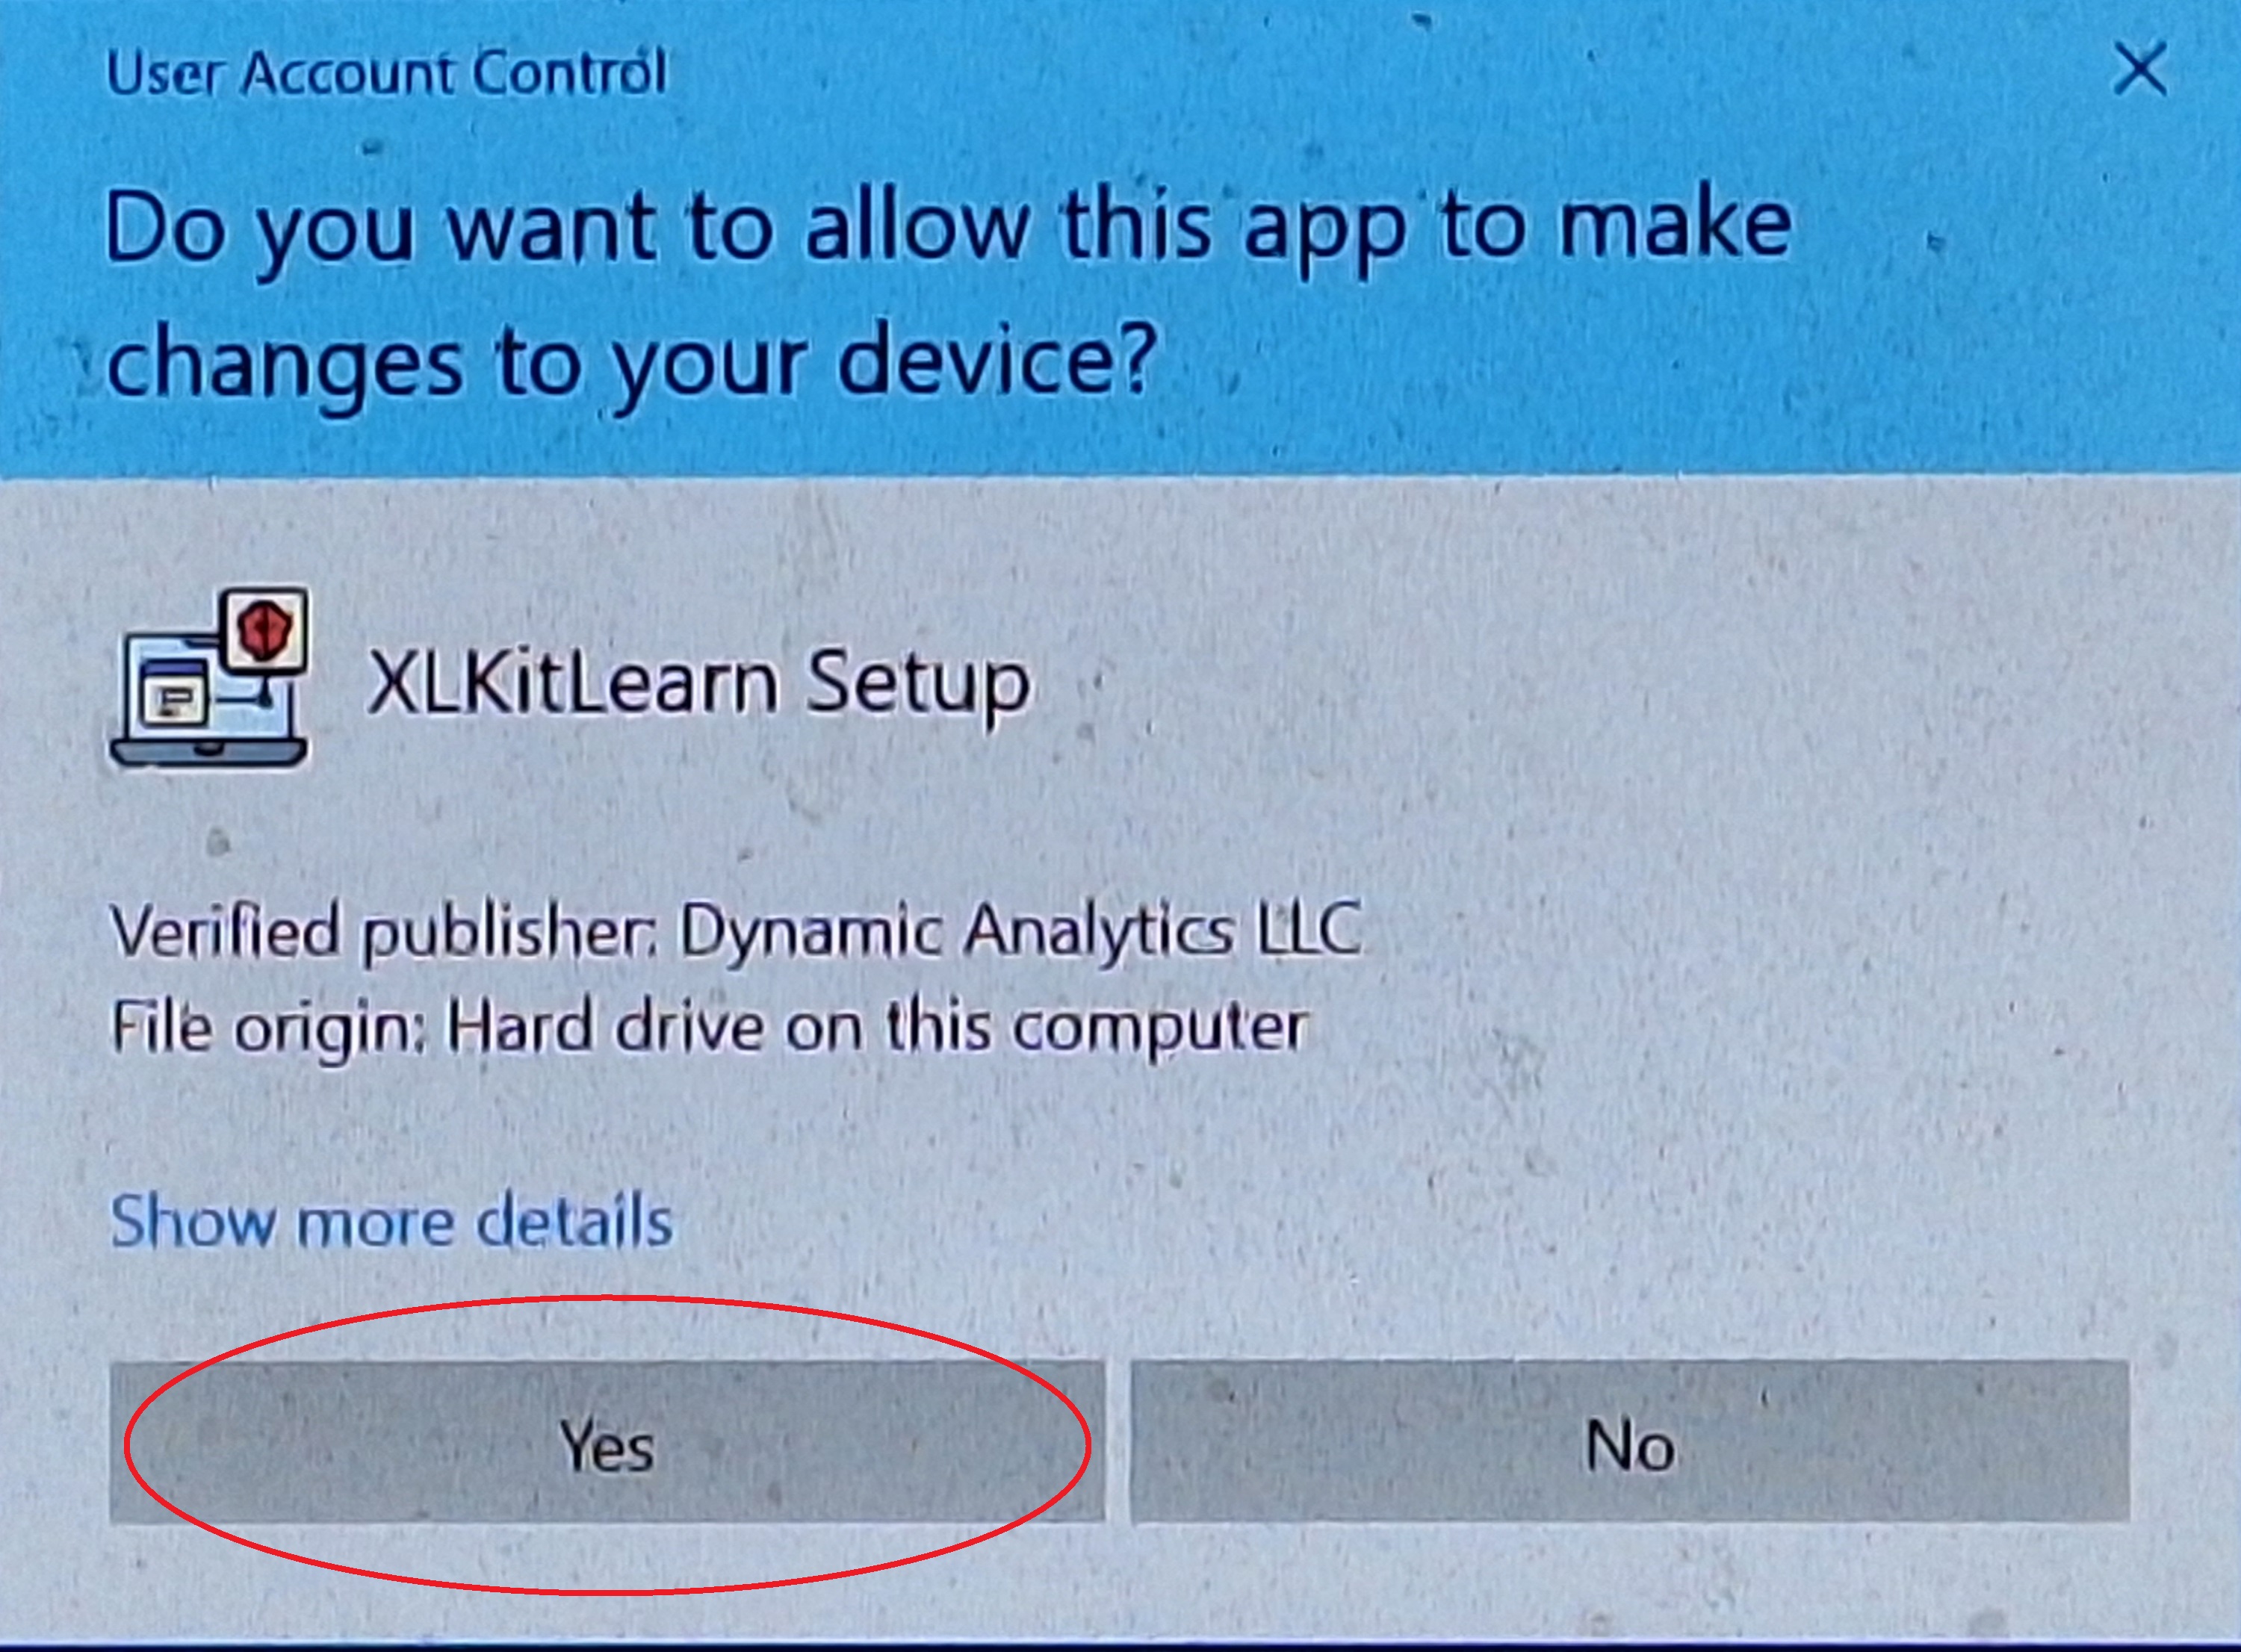
- Run the download file. Your computer may pause for 10-20 seconds. You may then be shown a Windows security warning. Click on "Yes"
- The installer will then launch. Click on "Install", and let the installer do its thing.
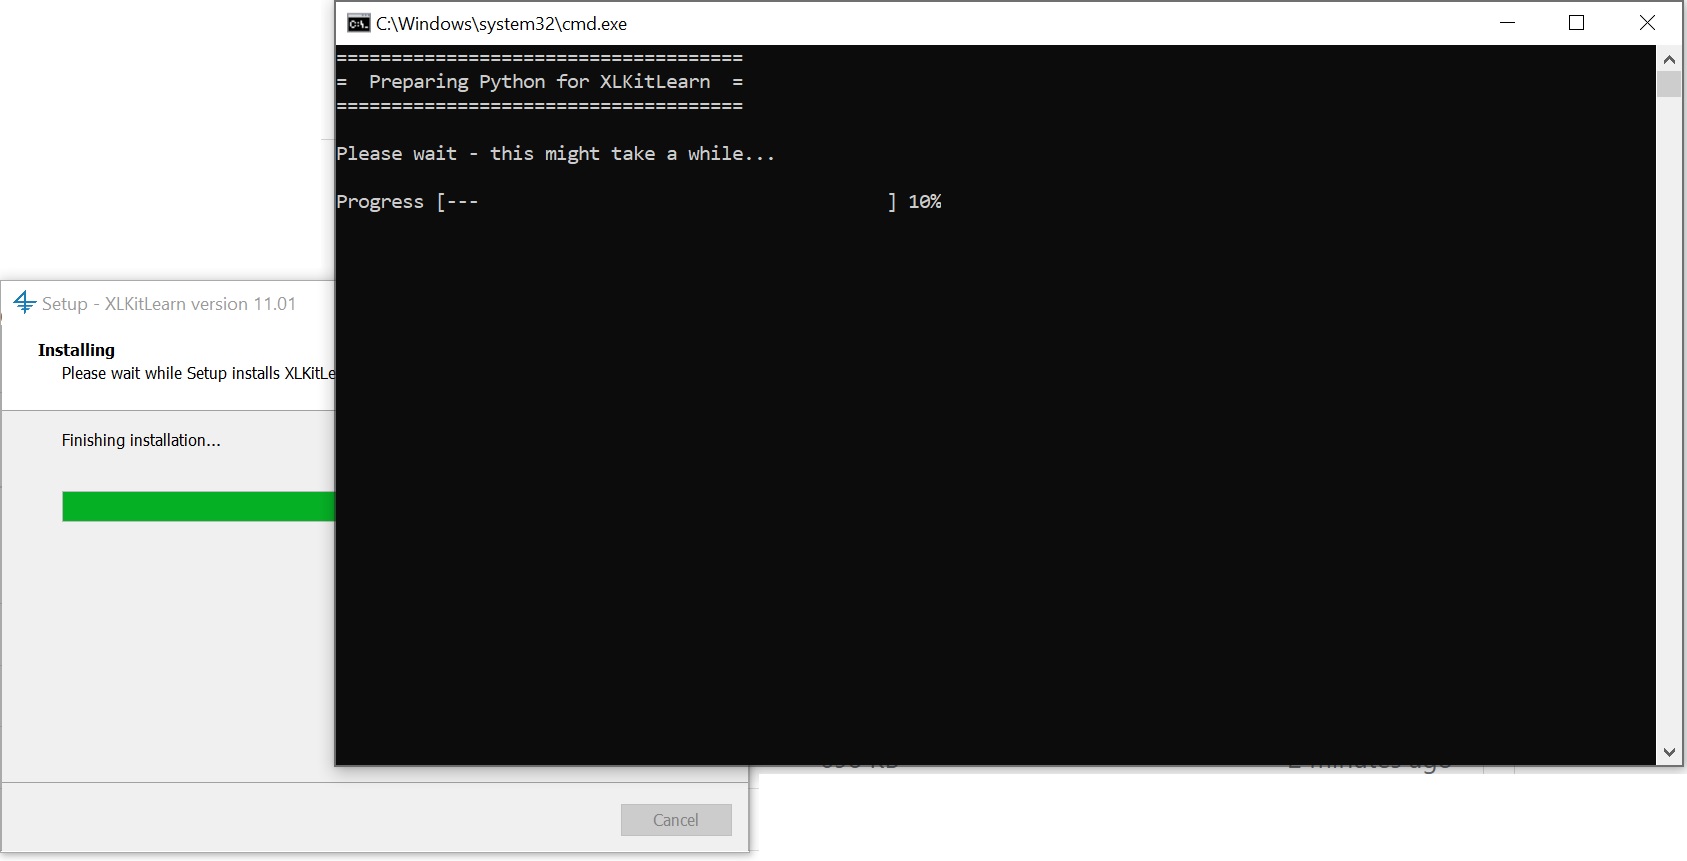
- Once the progress bar has completed, a black window will pop up that looks something like this - let it do its thing (note: XLKitLearn will not interfere with any version of Python already installed on your computer)
- If you have Malwarebytes, you will need to disable part of it to allow XLKitLearn to run; see this page for instructions (if the installer detects you have Malwarebytes, it will bring you to that page automatically).
- Click on "Finish" to exit the installer.
- Open Excel.
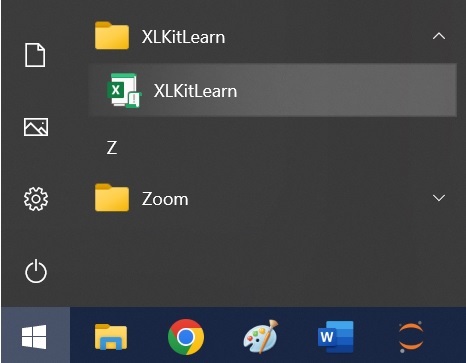
- Go to the start menu, scroll down your list of programs, and find the "XLKitLearn" folder. Select the "XLKitLearn" item therein.
- In the resulting window, click on "Enable Content"
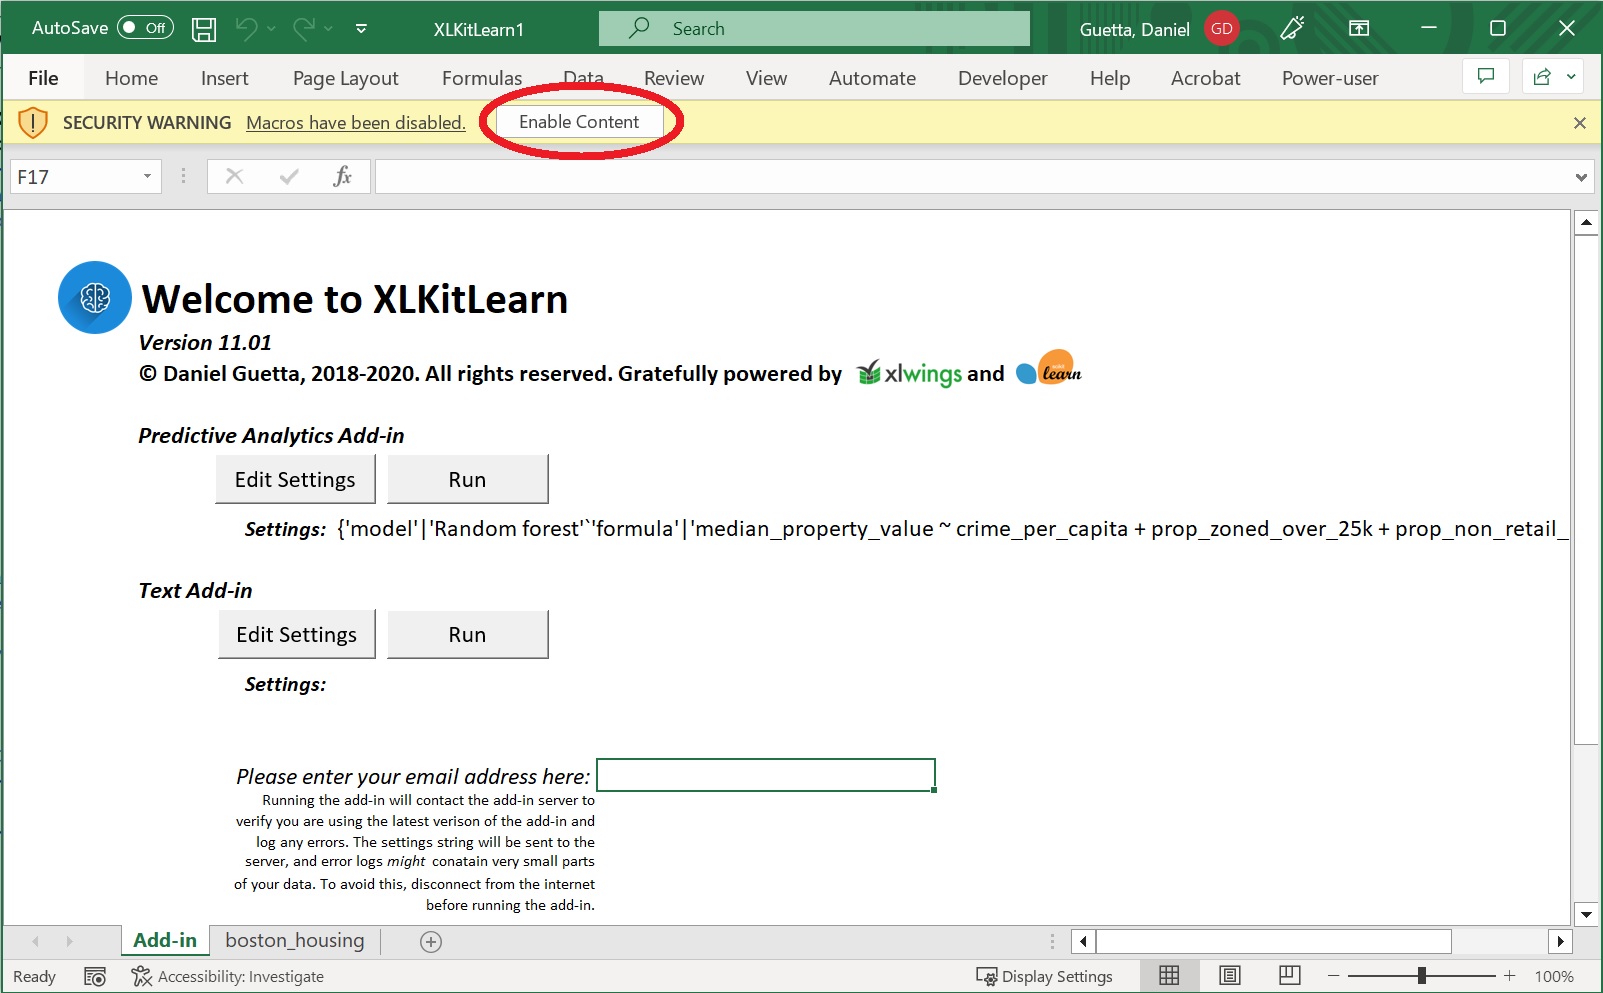
- You will immediately be prompted to save the file as follows:
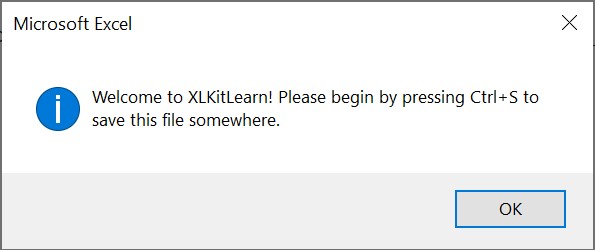
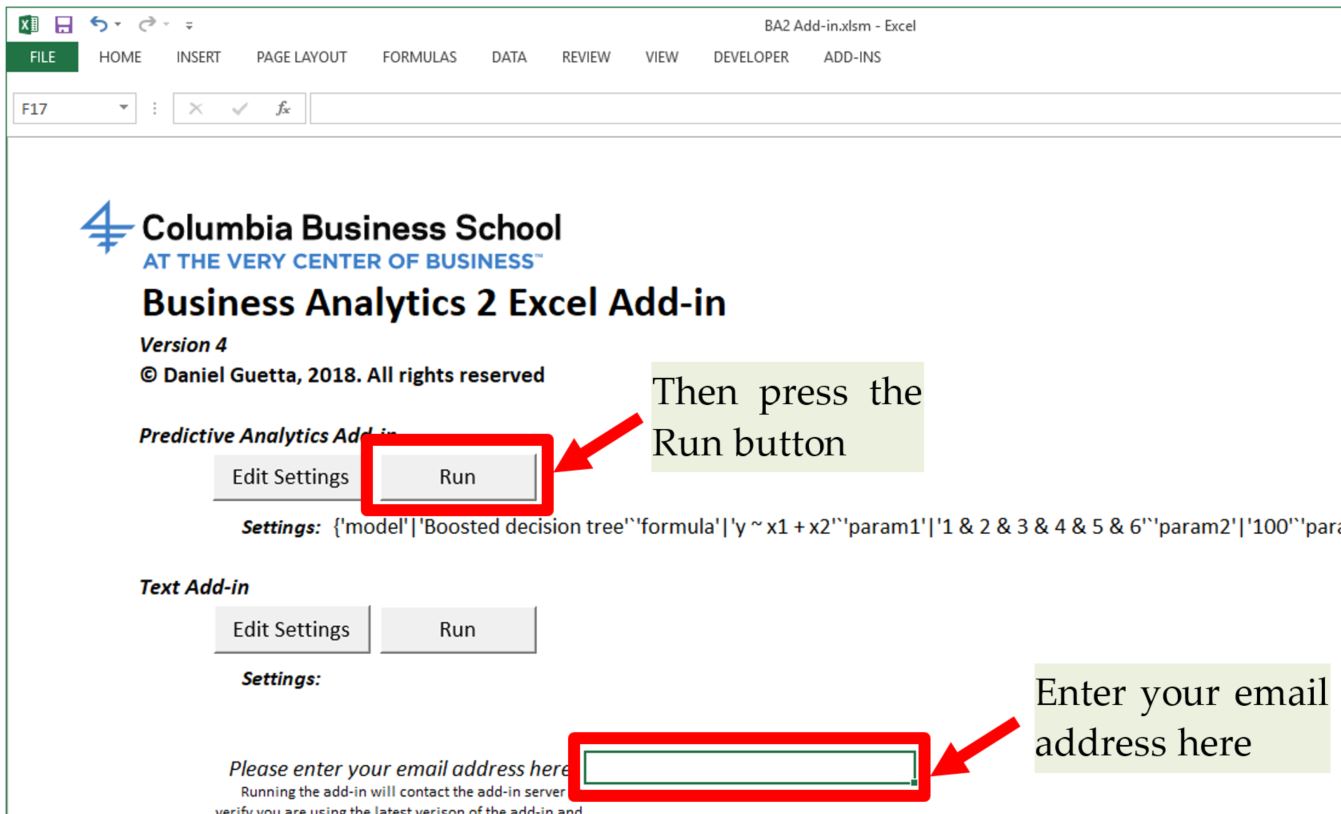
Ctrl+Ssave the file somewhere - XLKitLearn cannot be used before the file is saved. Please note that the latest version of OneDrive seems to cause some issues when used with the add-in. We'll fix this in the future, but in the meantime, please save the file outside of OneDrive to avoid these errors. When are you done using the add-in after the class, you can move it back to OneDrive. - If you are using XLKitLearn for the first time, check whether the installation worked by entering your email address into the Excel and clicking on the first "Run" button
- If the add-in runs successfully, the following screen should show up (note that the contents of cell D13 have been obscured. If you are installing this add-in as part of a class, your instructor might ask you to report the value in that cell to verify you've installed the add-in correctly)

Mac Installation
- Bring up Spotlight Search by pressing
Command + Space, and type "terminal" in the search bar. Click on the terminal icon:
- Click to copy and paste the following line exactly into the terminal:
and then presscurl -sSL https://github.com/danguetta/xlkitlearn/releases/latest/download/XLKitLearn_installer.sh | bashEnter: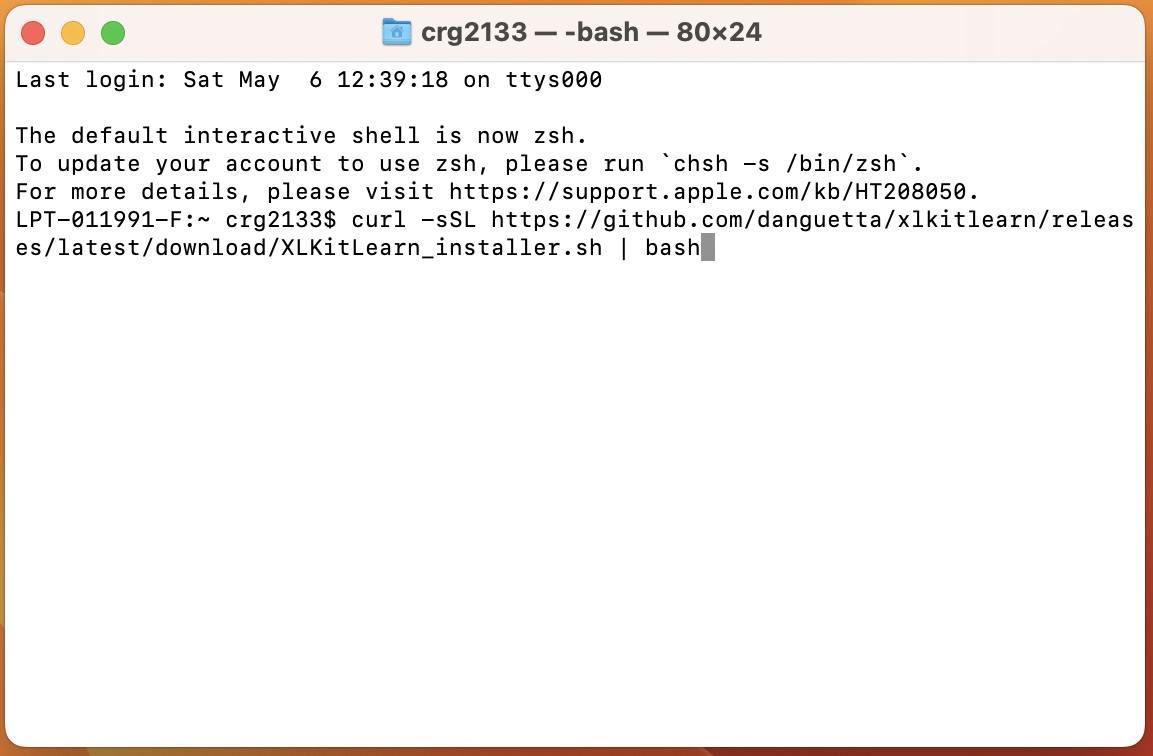
- The command should take between 3 and 6 minutes to run, and end with the text
Successfully installed XLKitLearn!in green: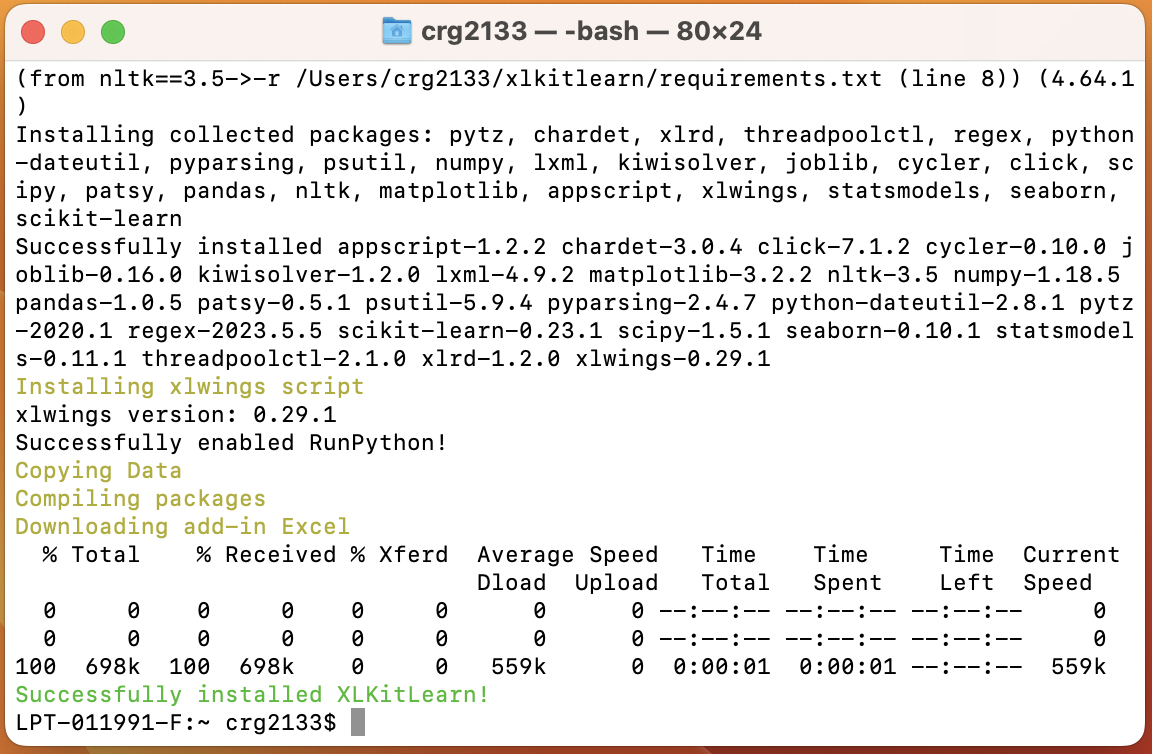
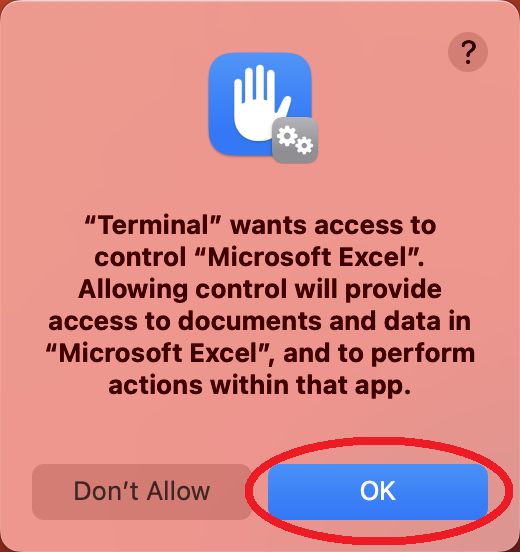
- You may see the dialogue below after the operation above is done. If you do, click on "OK"
- You can now close the terminal window.
- Open Excel.
- Go to your desktop and find the
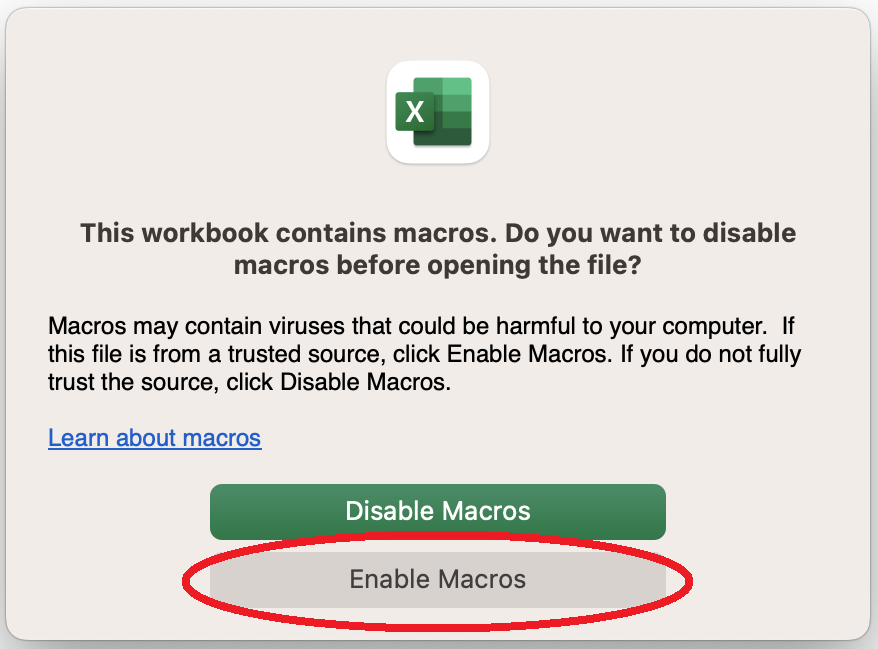
XLKitLearn.xltmfile. Open it. (You will need to open this file every time you want to launch a blank version of XLKitLearn). - You will be asked to enable Macros - click "Enable Macros":
- You will immediately be prompted to save the file as follows:
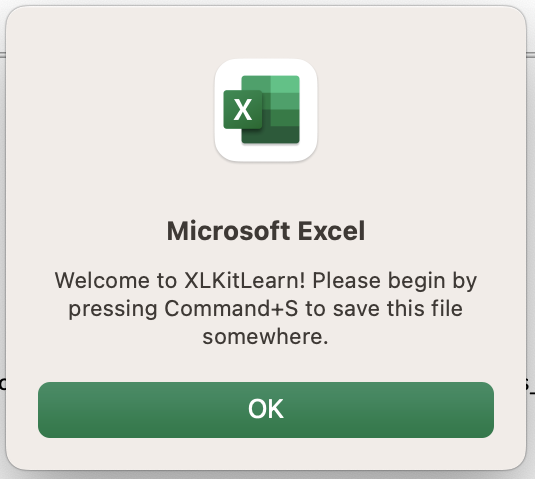
Command+Ssave the file somewhere - XLKitLearn cannot be used before the file is saved. - If you are using XLKitLearn for the first time, check whether the installation worked by entering your email address into the Excel and clicking on the first "Run" button
- If the add-in runs successfully, the following screen should show up (note that the contents of cell D13 have been obscured. If you are installing this add-in as part of a class, your instructor might ask you to report the value in that cell to verify you've installed the add-in correctly)
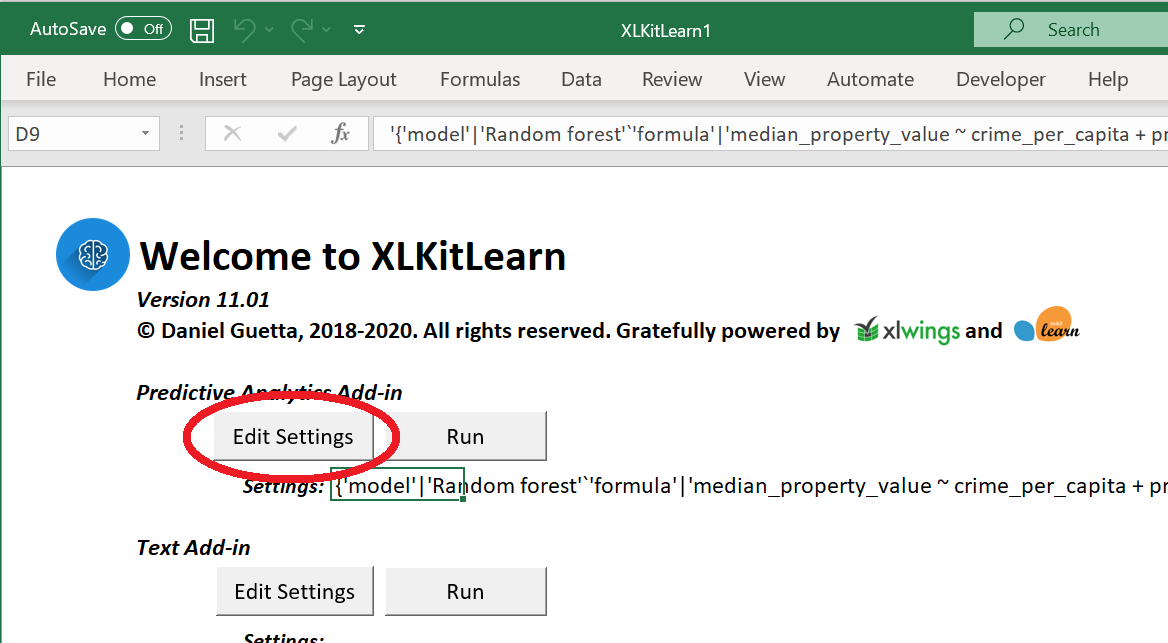
- Finally, click on the first "Edit Settings" button on the spreadsheet: